Introduction
Images play an important role in today’s digital world. They make websites more attractive, improve social media engagement, and help businesses communicate with their audiences. However, large image files can slow down websites, increase storage requirements, and create a poor user experience. Slow-loading pages often lead to higher bounce rates, lower search engine rankings, and fewer conversions.
Image compression is the process of reducing the file size of an image while maintaining the best possible visual quality. When done correctly, visitors will not notice any visible difference, yet the image will load much faster. Whether you manage a personal blog, an online store, a photography portfolio, or a business website, understanding image compression can improve both website performance and visitor satisfaction.
This guide explains the best image compression tips that help reduce file sizes without sacrificing image quality. By following these practical techniques, you can create a faster, more efficient, and professional online experience.
Understand the Difference Between Lossy and Lossless Compression
Before compressing any image, it is important to understand the two main compression methods.
Lossy compression removes some image data to achieve much smaller file sizes. Modern compression algorithms are highly advanced, making the quality difference almost impossible to notice when moderate compression levels are used. JPEG images commonly use this method.
Lossless compression reduces file size without permanently removing image information. Every detail remains intact, making it ideal for graphics, logos, screenshots, and illustrations. PNG files are one of the most common formats that support lossless compression.
Choosing the correct compression method depends on how the image will be used.
Choose the Right Image Format
One of the easiest ways to reduce file size without affecting quality is to select the correct image format.
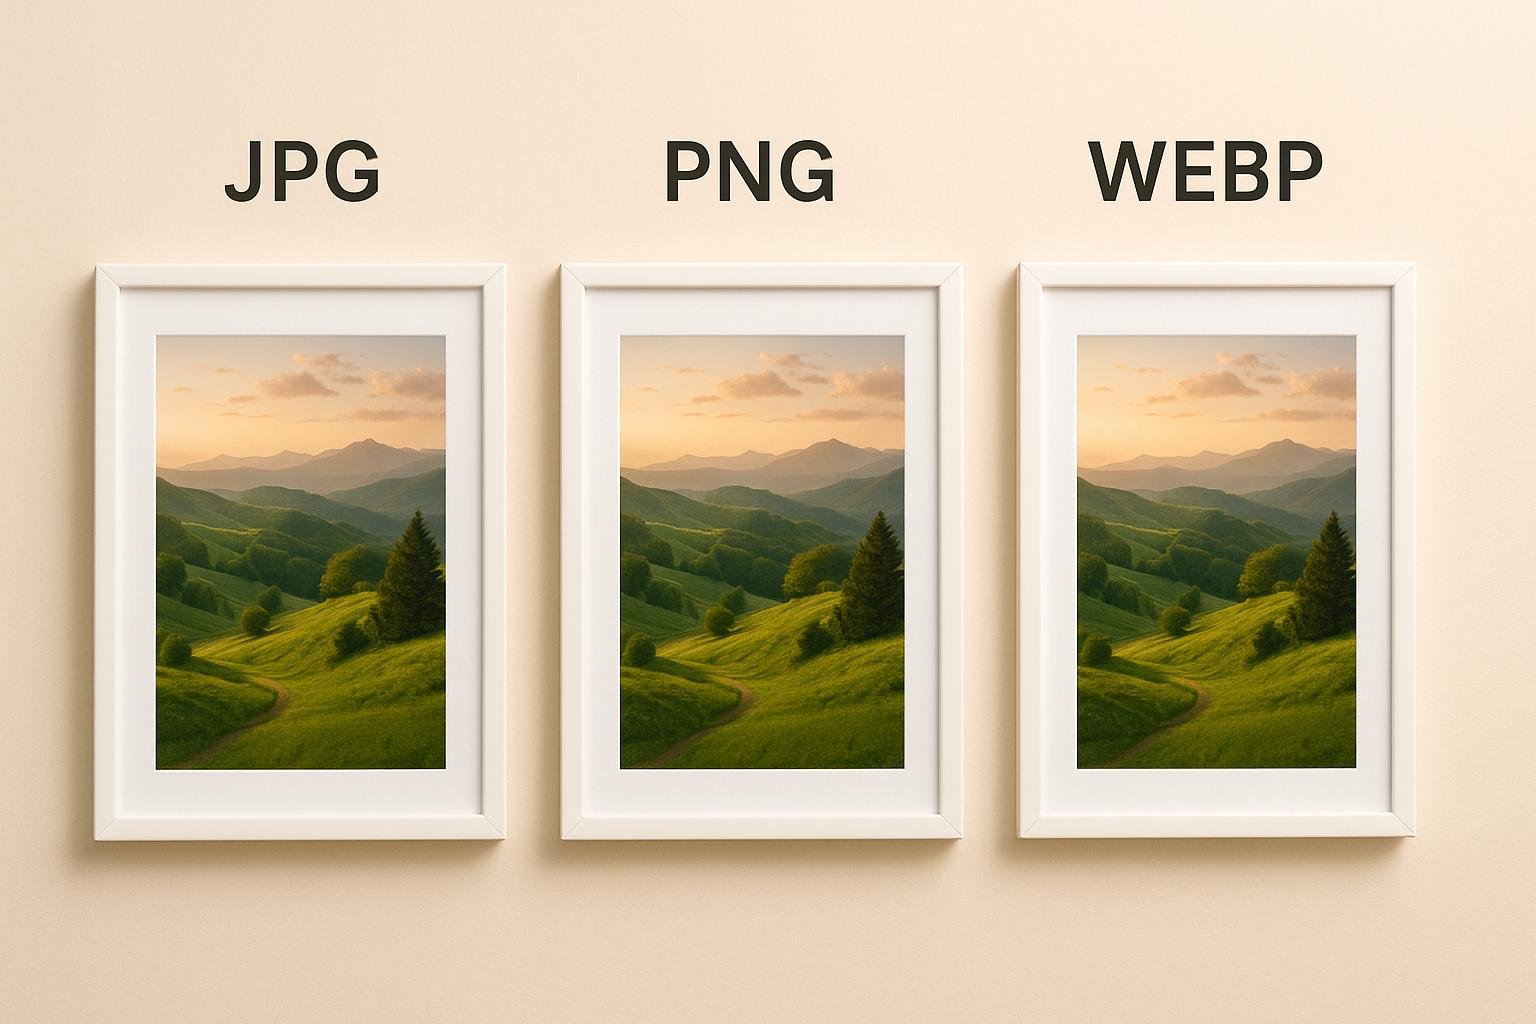
JPEG works best for photographs because it offers excellent compression while preserving visual detail.
PNG is suitable for graphics that require transparency, logos, icons, and images containing text.
WebP combines excellent image quality with significantly smaller file sizes than both JPEG and PNG. Many modern browsers fully support this format, making it an excellent choice for websites.
AVIF is one of the newest image formats and provides outstanding compression efficiency while maintaining exceptional quality. As browser support continues to improve, AVIF is becoming an increasingly attractive option.
Using the right format alone can dramatically reduce storage requirements.
Resize Images Before Uploading
Many website owners upload high-resolution images directly from cameras or smartphones. These images are often much larger than necessary.
For example, uploading a 6000-pixel-wide photo to display it at only 1200 pixels wastes storage and bandwidth.
Always resize images to the maximum dimensions actually required before uploading them. Smaller dimensions naturally produce smaller file sizes while maintaining sharpness on the website.
Proper resizing also speeds up page loading and reduces server resources.
Compress Images Before Publishing
Compressing images before uploading them is far more efficient than relying only on website optimization.
Modern image compression software allows users to balance image quality and file size with impressive precision.
Aim for a compression level where the visual difference is nearly impossible to detect while achieving meaningful file size reduction.
Testing several compression levels can help determine the ideal balance for different image types.
Keep Original High-Resolution Copies
Never overwrite your original images after compression.
Store original, full-quality versions in a secure folder or cloud storage. If you later need larger versions for printing, editing, or redesigning your website, you will still have access to the highest quality files.
Working from original images also prevents quality degradation caused by repeated compression.
Use Modern Image Formats
Technology continues to improve image compression standards.
WebP and AVIF often reduce image sizes by 30 to 70 percent compared to traditional JPEG images while maintaining nearly identical visual quality.
Smaller files lead to faster loading speeds, lower bandwidth usage, and improved user experience.
Whenever compatibility allows, modern image formats should become your preferred choice.
Avoid Compressing an Image Multiple Times
Every time a lossy image is compressed, additional information may be removed.
Repeated editing and saving can gradually reduce image quality, introducing blur, color distortion, or visible artifacts.
Instead, edit the original file first and perform compression only once after all modifications are complete.
This simple habit preserves image clarity.
Optimize Images for Different Devices
Users access websites from desktops, tablets, and smartphones with varying screen sizes.
Serving the same large image to every visitor wastes bandwidth on smaller devices.
Responsive images allow websites to display different image sizes depending on the user’s screen resolution.
This approach improves loading speed while maintaining excellent visual quality across all devices.
Remove Unnecessary Metadata
Digital images often contain hidden information known as metadata.
Metadata may include camera settings, GPS coordinates, editing history, timestamps, and device information.
Although useful for photographers, this information is usually unnecessary for websites.
Removing metadata reduces file size while protecting privacy and improving loading performance.
Use Appropriate Compression Levels
Applying maximum compression is not always the best solution.
Extremely aggressive compression can introduce noticeable quality loss.
Instead, use moderate compression settings that preserve sharpness while reducing file size significantly.
Finding the ideal balance often produces the best overall results.
Sharpen Images After Resizing
Images sometimes become slightly softer after resizing.
Applying a small amount of sharpening restores crisp edges without increasing file size significantly.
Avoid excessive sharpening because it may create unnatural outlines and unwanted visual artifacts.
Subtle adjustments produce the most professional results.
Optimize Images for Search Engines
Image optimization benefits not only loading speed but also search engine visibility.
Use descriptive filenames instead of generic names like IMG001.
Write informative alt text that accurately describes the image.
Keep image dimensions appropriate for the webpage.
Compress images before publishing.
These practices improve accessibility while helping search engines understand visual content.
Use Lazy Loading
Lazy loading delays image downloads until visitors scroll close to them.
Instead of loading every image immediately, only visible images load first.
This reduces initial page weight and significantly improves page loading performance.
Visitors experience faster page rendering, especially on mobile devices and slower internet connections.
Maintain Consistent Image Dimensions
Using consistent image sizes throughout a website creates a more professional appearance.
Uniform dimensions also improve layout stability and reduce unexpected page shifts during loading.
Planning standard image sizes for blog posts, product pages, and featured images simplifies future optimization.
Consistency benefits both design and performance.
Test Image Quality Before Publishing
Never assume compressed images look perfect.
Preview them on different devices, including smartphones, tablets, laptops, and desktop monitors.
Pay attention to sharpness, color accuracy, and visible compression artifacts.
If quality appears reduced, slightly lower the compression level until the desired appearance is restored.
Testing ensures visitors always see professional-looking images.
Organize Your Image Library
A well-organized image collection makes optimization easier.
Create folders based on projects, dates, or content categories.
Use clear filenames that describe each image.
Maintain separate folders for original files and compressed versions.
Good organization saves time and prevents accidental quality loss.
Monitor Website Performance
After optimizing your images, regularly monitor website performance.
Track page loading speed, visitor engagement, and overall user experience.
If loading times increase over time, review recently uploaded images to ensure they follow your compression standards.
Continuous monitoring helps maintain a fast and efficient website.
Common Image Compression Mistakes to Avoid
Many beginners unintentionally reduce image quality by making avoidable mistakes.
Uploading oversized images without resizing increases loading times.
Choosing the wrong image format often results in unnecessarily large files.
Compressing images multiple times gradually reduces quality.
Ignoring responsive image techniques causes slower mobile performance.
Applying maximum compression settings can produce visible artifacts.
Keeping unnecessary metadata increases file size without providing value.
Avoiding these mistakes leads to better website performance and a more professional appearance.
Benefits of Proper Image Compression
Effective image compression offers advantages beyond reducing storage space.
Faster websites improve user satisfaction and encourage visitors to stay longer.
Lower bandwidth usage reduces hosting costs.
Improved loading speed contributes to better search engine rankings.
Optimized images create smoother browsing experiences on mobile devices.
Professional-looking visuals strengthen brand credibility and improve audience trust.
Together, these benefits help websites perform better both technically and visually.
Conclusion
Image compression is one of the simplest yet most effective ways to improve website performance without sacrificing visual quality. By choosing the correct file format, resizing images before uploading, applying balanced compression, removing unnecessary metadata, and using modern image standards, you can dramatically reduce file sizes while maintaining sharp, attractive visuals.
Small improvements made consistently across every image can produce significant gains in loading speed, user experience, and search engine optimization. Whether you operate a personal blog, business website, online portfolio, or ecommerce store, following these image compression best practices will help create a faster, more efficient, and more professional digital presence.
Optimizing images is not just about saving storage space. It is about delivering a better experience for every visitor while building a website that performs reliably today and remains prepared for future technologies.